
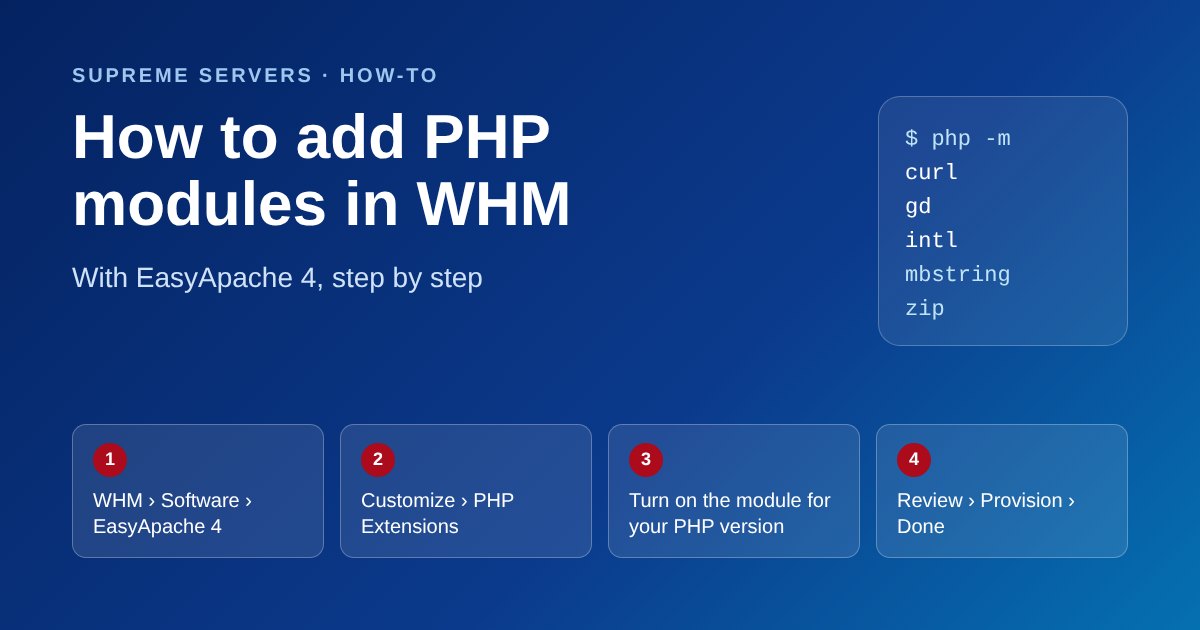
If a WordPress plugin or website feature stops working on your server, a missing PHP module is often the cause. This guide shows you how to add PHP modules in WHM with EasyApache 4, check which modules are already installed, and fix the most common errors. It takes about ten minutes.

What are PHP modules?
PHP modules, also called PHP extensions, add features to PHP. For example, intl handles languages and currencies, imagick and gd edit images, soap connects to some payment and shipping services, and zip opens archive files. Many WordPress plugins and other web applications need one or more of them.
When a module is missing, you usually see an error such as “Call to undefined function” or a plugin notice that asks you to enable an extension. In most cases, you only need to install that one module.
Before you add PHP modules
- You need root access to WHM. On a Cloud VPS or dedicated server with cPanel/WHM, you log in at
https://your-server-ip:2087. - Check which PHP version your website uses. In cPanel, open MultiPHP Manager to see it. Modules are installed for each PHP version separately.
- Note the exact module name from the error message or the plugin documentation.
How to add PHP modules in WHM (EasyApache 4)
- Log in to WHM as root.
- Go to Software and click EasyApache 4.
- Next to Currently Installed Packages, click Customize.
- Click PHP Extensions in the menu on the left.
- Type the module name in the search box, for example
intl. - Turn on the extension for each PHP version your websites use. It appears as
ea-php83-php-intlfor PHP 8.3, for example. - Click Review, then click Provision.
- When the build finishes, click Done.
Your server installs the module and restarts the web server for you. In most cases, your websites stay online while this happens.
Check that the module is installed
You can confirm the change in two ways. First, in cPanel, open MultiPHP INI Editor or create a small phpinfo() page, then look for the module name. Second, if you use SSH, run php -m to list every module for the default PHP version. After that, reload the page or plugin that showed the error.
Common problems and how to fix them
The module isn’t in the list
Some modules aren’t packaged for EasyApache 4. You can often install them through Software and then Module Installers, using the PHP PECL option.
The error still appears
Make sure you added the module to the PHP version your website actually uses. If your website runs PHP 8.2 but you added the module to PHP 8.3, the error stays.
The build failed
Read the message on the screen, then try again. A conflict between packages is the most common cause, and the Review step usually explains it.
Want us to add PHP modules for you?
When your Cloud VPS includes cPanel/WHM, our support team fully manages it, so we can install PHP modules for you. Open a support ticket with the module name and your website’s PHP version, and our team will take care of it, 24/7/365.
Looking for a server with cPanel/WHM? See our Cloud VPS plans, which come with full root access and SSD storage. For more detail on each EasyApache 4 screen, read the cPanel EasyApache 4 documentation.